Just a simple setup, just put here in case I need it in the future.
Yeah, I’m familiar with Jenkins and it has a bunch of useful utilities to automate my personal workflow, not just a simple build tool, for example, an automated task runner with familiar UI. This instruction is for Ubuntu 18.04 and AWS Lightsail but the same instructions are applied for all other VPS/Cloud services.
Bootstrap the server and install Jenkins
- Create a new VPS on AWS Lightsail, choose an Ubuntu 18.04 server with any specs that you want.
- Optionally: set up swap on the server if you have limited amount of RAM, following this guide but this can be done later.
- Some Cloud providers (like AWS Lightsail) offer an extra layer of network security by blocking all the incoming traffic on all ports (except SSH and HTTP) by default. Since Jenkins will run on port 8080, you need to add that port to the allowed list
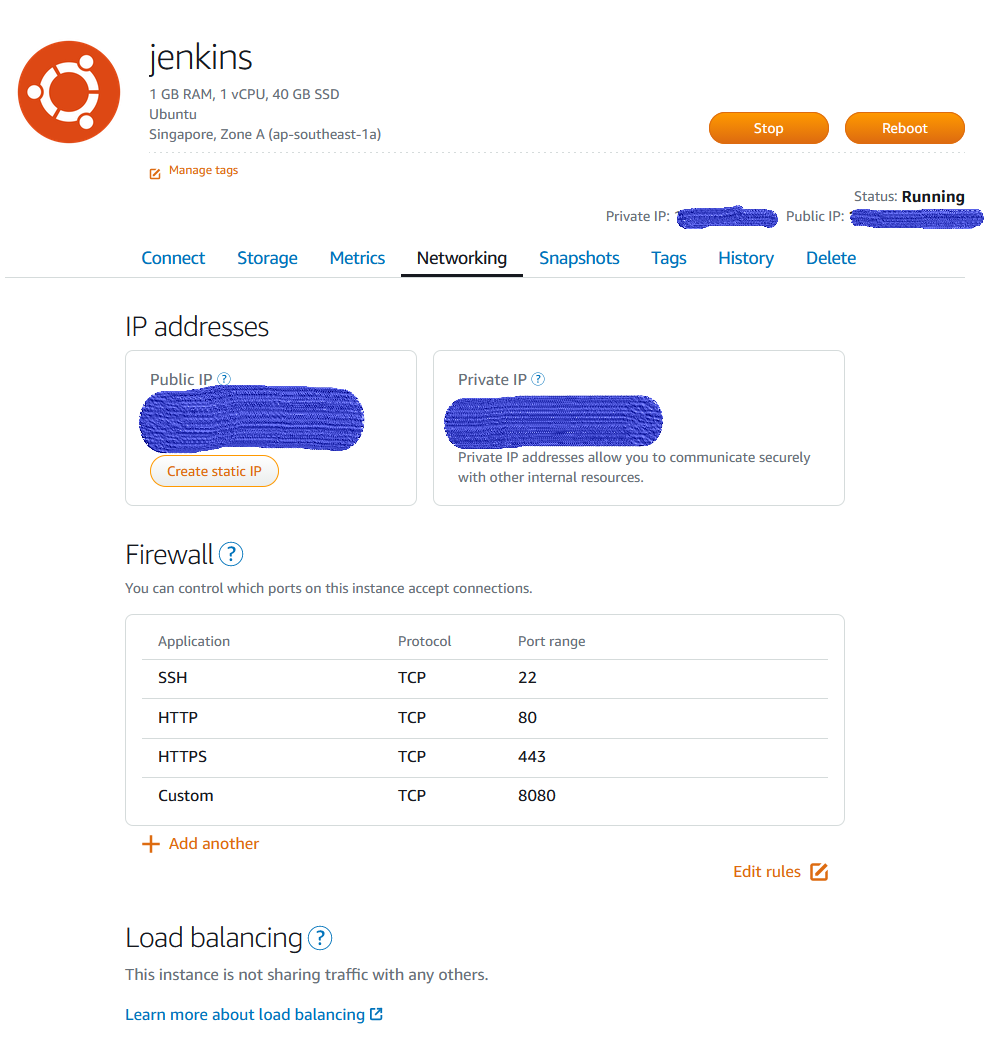
- Also add port 443 to the allowed list to set up SSL later
- SSH into the server and run these commands to install Jenkins
$ sudo apt-get update
$ sudo apt-get install openjdk-11-jdk -y
$ wget -q -O - https://pkg.jenkins.io/debian/jenkins.io.key | sudo apt-key add -
$ sudo sh -c 'echo deb http://pkg.jenkins.io/debian-stable binary/ > /etc/apt/sources.list.d/jenkins.list'
$ sudo apt-get update
$ sudo apt-get install jenkins -y
- Open http://your-ip:8080 to start setting up Jenkins
- Use this command to view the initial admin password
$ sudo less /var/lib/jenkins/secrets/initialAdminPassword
Access to Jenkins server without SSL
Now you have an fully working Jenkins. You can access it insecurely and publicly using http at http://your-ip:8080.
If you don’t want it to be public, you can either
- Access using SSH Port forwarding using this command
ssh -L 17492:127.0.0.1:8080 tmtxt@server-ip- This command forwards port
17492on your local computer to port8080on your Jenkins server so you can access it at http://localhost:17492
- Set up a
Pritunl(or other OpenVPN solutions) to access it via your private network.- I have another VPS running
Pritunlserver to connect all my devices to a private network.
- I have another VPS running
Jenkins with SSL behind Nginx reverse proxy
Before doing this, you need to configure a DNS record for your sub-domain, pointing to your Jenkins server ip. In my case,
it’s jenkins.truongtx.me
Use this command to install Nginx
$ sudo apt-get install nginx
For SSL certificate, you can choose one of these solutions
- Obtain a certificate from a trusted CA
- Use Letsencrypt cert-bot for free certificate
- Generate a self-signed certificate
In my case, I generated a self-signed certificate using this command
$ sudo mkdir -p /etc/nginx/ssl
$ sudo openssl req -x509 -nodes -days 365 -newkey rsa:2048 -keyout /etc/nginx/ssl/server.key -out /etc/nginx/ssl/server.crt
Next, create a file named jenkins.truongtx.me (or other name that you like) in /etc/nginx/sites-availables with
the content like this. Replace jenkins.truongtx.me with your domain name
upstream jenkins {
  server 127.0.0.1:8080 fail_timeout=0;
}

server {
  listen 80;
  server_name jenkins.truongtx.me;
  return 301 https://$host$request_uri;
}

server {
  listen 443 ssl;
  server_name jenkins.truongtx.me;

  ssl_certificate /etc/nginx/ssl/server.crt;
  ssl_certificate_key /etc/nginx/ssl/server.key;

  location / {
    proxy_set_header        Host $host:$server_port;
    proxy_set_header        X-Real-IP $remote_addr;
    proxy_set_header        X-Forwarded-For $proxy_add_x_forwarded_for;
    proxy_set_header        X-Forwarded-Proto $scheme;
    proxy_redirect http:// https://;
    proxy_pass              http://jenkins;
    # Required for new HTTP-based CLI
    proxy_http_version 1.1;
    proxy_request_buffering off;
    proxy_buffering off; # Required for HTTP-based CLI to work over SSL
    # workaround for https://issues.jenkins-ci.org/browse/JENKINS-45651
    add_header 'X-SSH-Endpoint' 'jenkins.domain.tld:50022' always;
  }
}
The above file instructs Nginx to forward all traffic for this server from port 80 to https port 443, using the
2 certificate files generated before. It also forwards the request from that port 443 to port 8080, which Jenkins
server is running on https://wiki.jenkins.io/display/JENKINS/Jenkins+behind+an+NGinX+reverse+proxy.
Symlink the above file to /etc/nginx/sites-enabled to enable it
$ ln -s /etc/nginx/sites-enabled/jenkins.truongtx.me /etc/nginx/sites-available/jenkins.truongtx.me
You also need to add one more param to Jenkins startup args list.
- Edit the file
/etc/default/jenkins - Find this line
JENKINS_ARGS="--webroot=/var/cache/$NAME/war --httpPort=$HTTP_PORT" - Add this to the list of args
--httpListenAddress=127.0.0.1JENKINS_ARGS="--webroot=/var/cache/$NAME/war --httpPort=$HTTP_PORT --httpListenAddress=127.0.0.1"
Restart both Jenkins and Nginx using these commands
$ sudo systemctl restart nginx
$ sudo systemctl restart jenkins
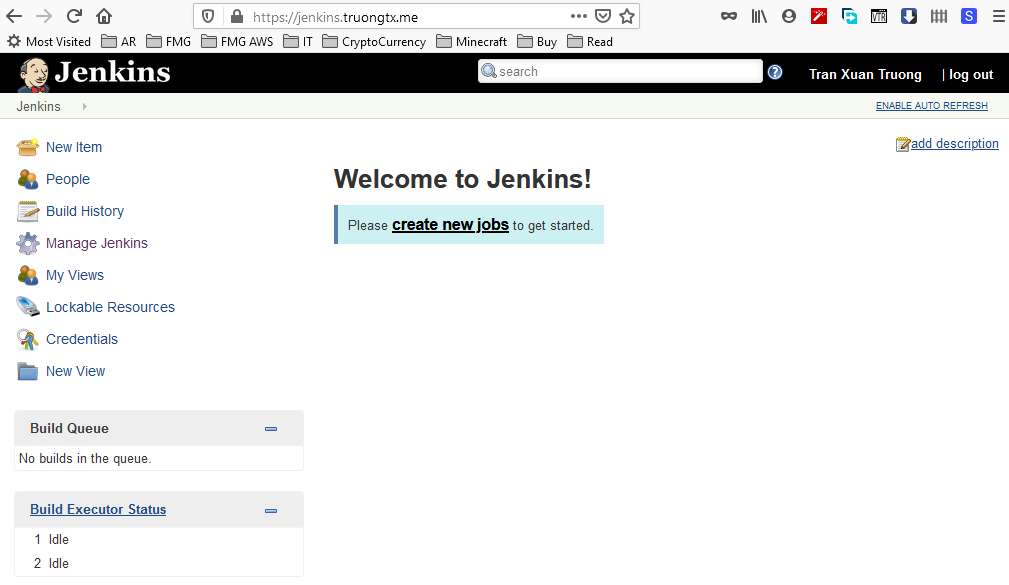
Navigate to http://jenkins.your-domain.com, you should be redirected to https://jenkins.your-domain.com and prompted with
a warning from your browser about the self-signed certificate.
Access to Jenkins using Free Cloudflare SSL
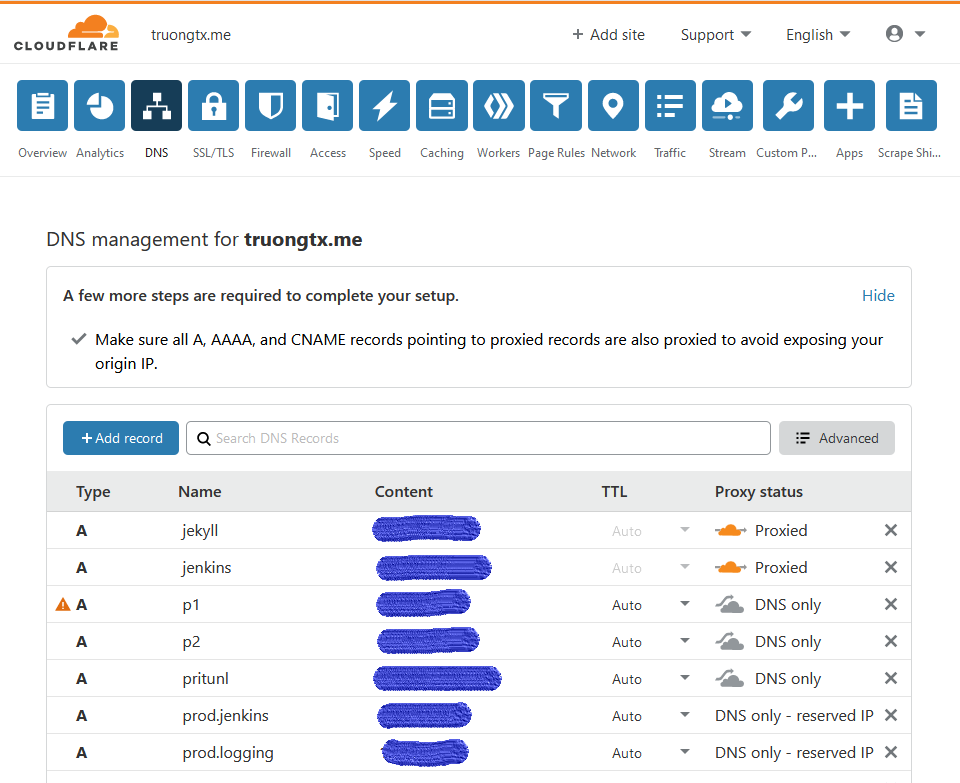
Turn on the Proxied option on your DNS record

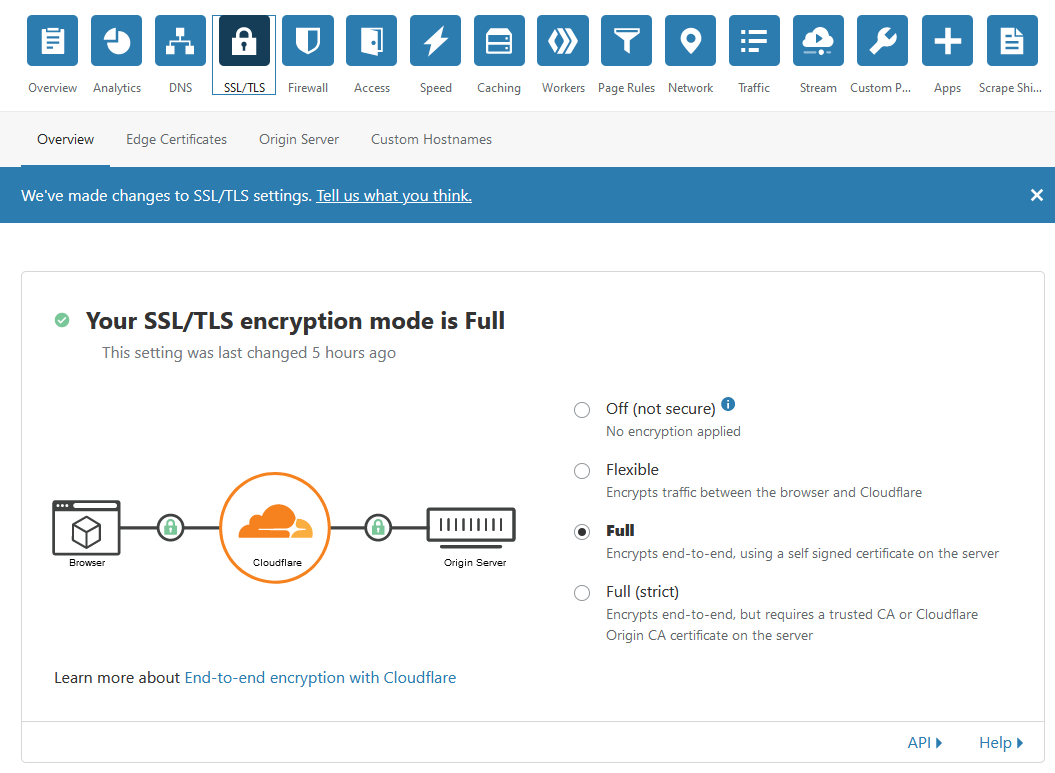
Switch Cloudflare to use Full SSL mode (or Full (strict) SSL mode if you have a trusted CA or Cloudflare Origin CA certificate).
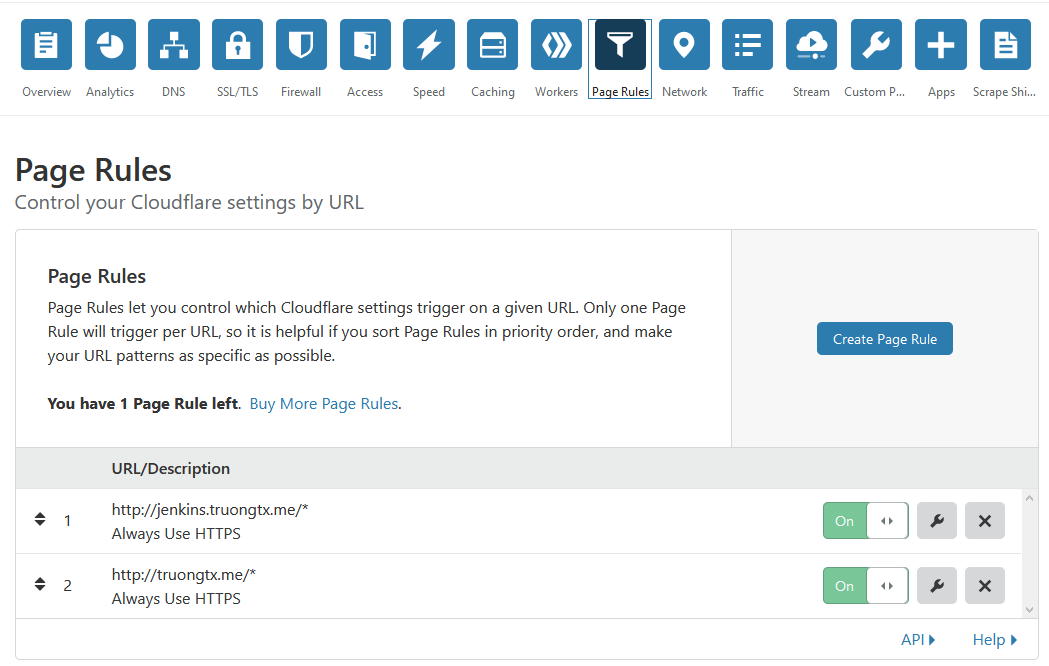
Add an Always Use HTTPS page rule on your sub-domain
Boom!
If you are one Mac, use this command to look up for the ip to make sure that Cloudflare is staying on top of your server
nslookup jenkins.truongtx.me