1. PassportJS
PassportJS is an authentication module for NodeJS which uses the standard Connect middleware structure. As a result, it is convenient to integrate with any applications that operate on the middleware structure like Express. If you haven’t known about Connect middleware yet, take a look at this post Nodejs with Express - More advanced stuff. Passport supports many authentication methods (strategies) like Local (using username and password), OAuth, OpenID or through Facebook, Google, Twitter,…
To use PassportJS, install it as a dependency for your project
$ npm install --save passportNext, add this to your main app.js file. Put it after initializing session
var passport = require('passport');

var app = express();

app.configure(function(){

  /* other config goes here */

  // put passport config after this line
  app.use(express.session());

  // passport initialization
  app.use(passport.initialize());
  app.use(passport.session());
});
2. An example with Local strategy - Authentication using Username and Password
2.1 Configuration
Now to use Passport, you need a strategy for instructing Passport how to authenticate. In this first example, I will use Local strategy (Username and Password authentication) provided by passport-local. Install it using npm
$ npm install --save passport-localYou need to configure to tell it how to check whether the input username and password
is correct. The below code is just an example using Sequelize to select the
right user from database. You can replace it with your own one to check the
username and password. Remember to return done() with the right arguments for
each case as shown in the example.
var passport = require('passport');
var LocalStrategy = require('passport-local').Strategy;

passport.use(new LocalStrategy({
    // set the field name here
    usernameField: 'username',
    passwordField: 'password'
  },
  function(username, password, done) {
    /* get the username and password from the input arguments of the function */

    // query the user from the database
    // don't care the way I query from database, you can use
    // any method to query the user from database
    User.find( { where: {username: username}} )
      .success(function(user){

        if(!user)
          // if the user is not exist
          return done(null, false, {message: "The user is not exist"});
        else if(!hashing.compare(password, user.password))
          // if password does not match
          return done(null, false, {message: "Wrong password"});
        else
          // if everything is OK, return null as the error
          // and the authenticated user
          return done(null, user);

      })
      .error(function(err){
        // if command executed with error
        return done(err);
      });
  }
));
That’s not everything, if you are building a typical web application and you
want to maintain the authentication state in session, you need to define 2
functions serializeUser and deserializeUser for serializing/deserializing
user instances to and from the session
passport.serializeUser(function(user, done) {
done(null, user.id);
});
passport.deserializeUser(function(id, done) {
// query the current user from database
User.find(id)
.success(function(user){
done(null, user);
}).error(function(err){
done(new Error('User ' + id + ' does not exist'));
});
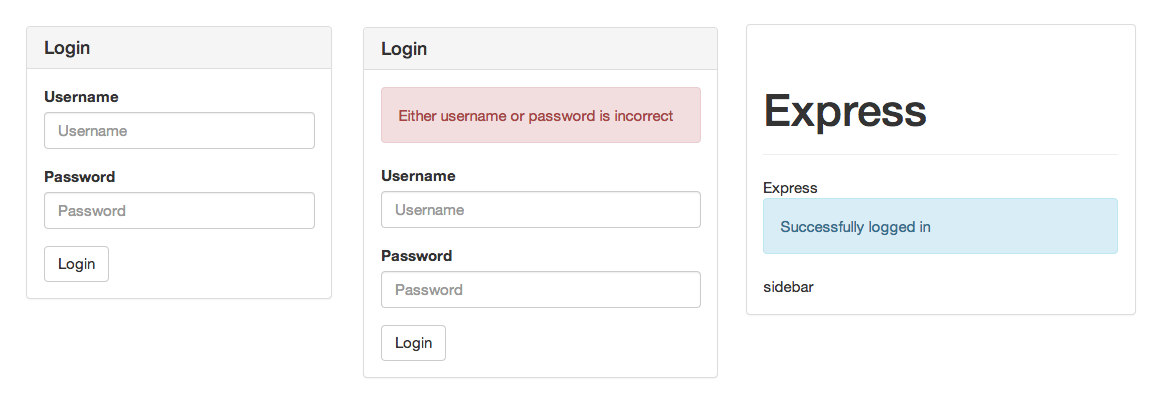
});2.2 Build the Login form
That’s quite enough for the configuration. Now let’s build the login form. This
example uses ejs view engine
<!-- display the error message here -->
<% if (message) { %>
<%= message %>
<% } %>

<!-- submit to /login -->
<form action="/login" method="post">
	<input type="text" id="username" name="username">
	<input type="password" id="password" name="password">
	<button type="submit">Submit</button>
</form>
And the routing for that login page
app.get('/login', loginGet);

function loginGet(req, res){
  if(req.user){
    // already logged in
    res.redirect('/');
  } else {
    // not logged in, show the login form, remember to pass the message
    // for displaying when error happens
    res.render('login', { message: req.session.messages });
    // and then remember to clear the message
    req.session.messages = null;
  }
}
2.3 Middleware handler for Login
Now set up the routing and the middleware handler for login
app.post('/login', loginPost);

function loginPost(req, res, next) {
  // ask passport to authenticate
  passport.authenticate('local', function(err, user, info) {
    if (err) {
      // if error happens
      return next(err);
    }

    if (!user) {
      // if authentication fail, get the error message that we set
      // from previous (info.message) step, assign it into to
      // req.session and redirect to the login page again to display
      req.session.messages = info.message;
      return res.redirect('/login');
    }

    // if everything's OK
    req.logIn(user, function(err) {
      if (err) {
        req.session.messages = "Error";
        return next(err);
      }

      // set the message
      req.session.messages = "Login successfully";
      return res.redirect('/');
    });

  })(req, res, next);
}
2.4 Logout
To logout, simply put a hyperlink to /logout. This is the function for logging
out
app.get('/logout', logout);

function logout(req, res){
  if(req.isAuthenticated()){
    req.logout();
    req.session.messages = req.i18n.__("Log out successfully");
  }
    res.redirect('/');
}
2.5 Require authentication for certain links
For some pages, you want to force the user to log in before viewing the page, you can use define a middleware that runs before the handler of that route is activated. For example
app.get('/admin', requireAuth, adminHandler);

function requireAuth(req, res, next){

  // check if the user is logged in
  if(!req.isAuthenticated()){
    req.session.messages = "You need to login to view this page";
    res.redirect('/login');
  }
  next();
}
If the request can reach adminHandler, that means the user is already
authenticated. Otherwise, the user would be redirected to /login.
3. Secure password transmission
For the password to be securely transmitted, you can use nginx for https proxy server. I have describe the steps in another post Config nginx for https proxy server.
4. More…
Want more? Wait for my next post.
To be continued…