Warning: this solution is no longer available on newer version of OSX. I tested it on Mac OS 10.6 long time ago. Please don’t ask me about any problem about it because I use only one Google Drive account now :)
![]()
Introduction
For several months, I have been using only one Google account for storing and syncing my files between computers. It is really a great tool since it’s integrated deeply with many Google services (which I use everyday). However, the storage is a problem for most cloud drive service. Before that, it offers only 5GB for free and now 15GB, still not enough for me even when I use the email that my university provided (with the capacity up to 30GB for free). Today, while I was browsing my Google Drive, I suddenly thought that it would be very nice if I can combine all my Google accounts’ storage capacity because I have 4 daily used Google accounts. The problem is that Google has restricted the Google Drive desktop app to be able to run one single instance with one profile at one time. That led to the inconvience when I have to disconnect and then re-login into another account and select the right folder for it everytime I want to change account.
Finally, after a whole hour Google searching for a solution to use multiple GDrive accounts without any results, I decided to do it on my own. Luckily, after spending all of my weekend afternoon researching shell commands, I have successfully come up with a nearly perfect solution for using multiple Google Drive accounts on my Mac.
Requirements
- A computer running MacOS
- A little knowledge about shell commands (not much)
- More than one Google accounts
- Google Drive desktop app for Mac (installed in /Applications)
How it works
Let me briefly explain how my solution work. Actually, each user account on MacOS can only run one instance of Google Drive at one time. However, I realized that if I run it as another account user (this user can be hidden so that it won’t affect you), it will have to create another profile since the Unix system has separate home folder for each account. The problem now is just how to run all of those instances simutaneously. By applying some simple shell commands and apple script, we can force MacOS to do all those stuffs for us.
Installing Google Drive
As I mentioned before, you need Google Drive desktop app installed in
/Applications. This is just to make sure that every user account can have
sufficient access to the application.
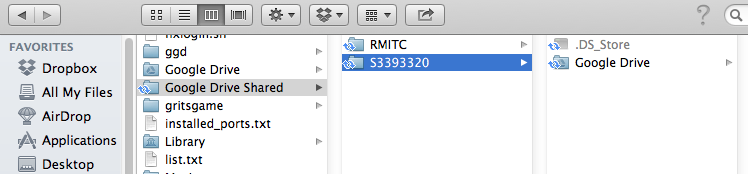
For ease of multiple accounts management, I advised you to create a folder where
you will store all of your GDrive accounts’s folders. In this article, I’ll call
that folder Google Drive Shared, located in my home directory.
After finishing installing Google Drive, you can open it and login with one of
your Google account, create a new folder inside that Google Drive Shared
folder above and tell GDrive to select it as the sync folder fo that account.
Adding Account
You have finished adding the first account. There is nothing new as you just follow the normal steps when you want to use GDrive. Now, move to the trickier part, where you have to create another user for extra accounts. Don’t worry, you only have to do this once.
Open up System Preferences, go to User & Groups, click the + button to add one more user account.
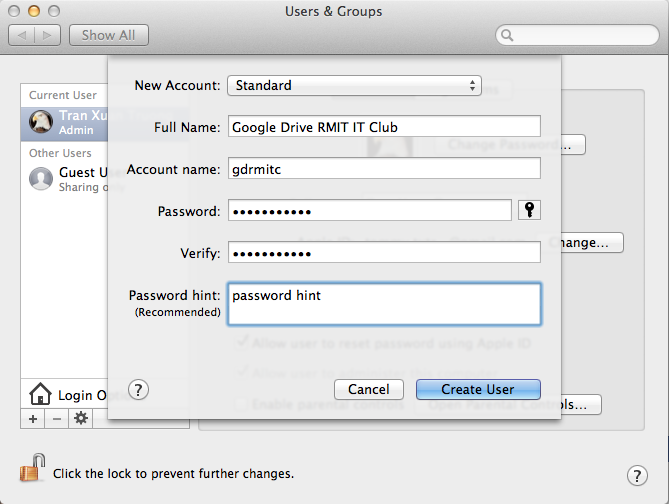
For the account type, select Standard. You can then input everything in Full
name field and Password Hint because we will later hide those information.
You can also choose any account name and password, just remember to write them
down, we will need them later.
Running Google Drive as other user
From this step, you will need Terminal. We will do most of our work using command line interface.
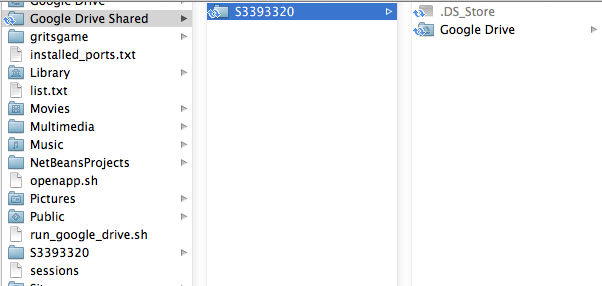
Firstly, you need to create another folder inside Google Drive Shared to store
the sync folder for the new account. See example in the picture below
Next, you need to change the permission of the Google Drive Shared folder to
777 so that all user have the permission to read/write inside that folder.
Execute this command in terminal, replace
/path/to/Google-Drive-Shared/folder with the path to your Google Drive
Shared folder.
$ sudo chmod -R 777 /path/to/Google-Drive-Shared/folderFinally, execute this command to run Google Drive as the newly created user. Replace username with the account name you have chosen before.
$ sudo su username -c "/Applications/Google\ Drive.app/Contents/MacOS/Google\ Drive"Now GDrive is ready for you to use.
For the first time, a popup window will appear asking you for username and password. After logging in, remember to select Advanced Setup to change the default sync folder location.
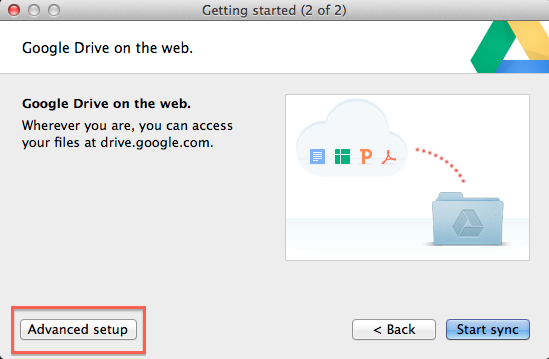
Change the default sync location to the newly created folder

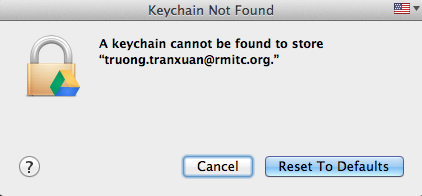
Again, for the first time only, another popup window will appear asking you to reset to default keychain, just select Reset To Defaults.
Everything’s done now and Google Drive is ready to run with multiple accounts. If you find it’s too complicated and you feel lazy typing these commands again and again, head to the next section where I’ll show you how to automate everything.
Automate Everything
It will not be a convinience method if you have to type all those commands again and again everytime you need start the computer. Instead, we will use Automator along with a shell script file to make everything automatically work in the background.
Open a text editor, create a file name run_google_drive.sh in your home
folder. Paste this into
the file content (just the commands you have executed before)
# change permission
chmod -R 777 /path/to/Google-Drive-Shared/folder
# run google drive
su username -c "/Applications/Google\ Drive.app/Contents/MacOS/Google\ Drive"Replace /path/to/Google-Drive-Shared/folder with the path to your
Google Drive
Shared
folder. Replace username with the account name
of the account you have created.
After saving the file, go back to terminal and execute this command to make the file executable.
$ chmod +x run_google_drive.shNext, open Automator, create a new workflow, select Run Apple Script, paste this script into Automator
set sh to "path/to/run_google_drive.sh"
do shell script sh password "sudopassword" with administrator privileges
Replace path/to/run_gooel_drive.sh with the path to the run_google_drive.sh file you’ve just created. Replace sudopassword with your sudo password. Save the workflow as an application. Now what you have to do is to run that application and your Google Drive instance will start. You can also select that application to start with the OS so that you don’t have to do anything, all Gdrive will be in synced whenever you start your computer.
Later, when you want to add more GDrive account, just create a new user and then create 2 file as above.
Hiding unnecessary users
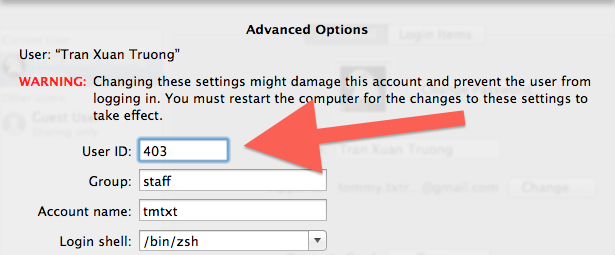
We only need those extra users for GDrive, there is no need for them to show up in System Preferences or Logon Screen. This command will force MacOS to hide all user with User ID less then 500.
$ sudo defaults write /Library/Preferences/com.apple.loginwindow Hide500Users -bool YESYou need to change the account id to a number less than 500 in order to hide it. First check if the id is already in use by typing this command
$ dscacheutil -q userFor example, you want to change the user id to 402, execute the above command and search for the user id 402 in the output. If there is no match result, that means that user id is available and you can use it.
To change the user id, go to System Preferences, User & Group, right click on the account you want to change and select Advanced Options and then change the user id number.
Known Issues
- Proxifier: if you are connecting to a network through Proxifier, this method will not work.
- Total Finder: Total Finder auto quit when start GDrive as another user. You can then re-open it later. This is not a big problem.
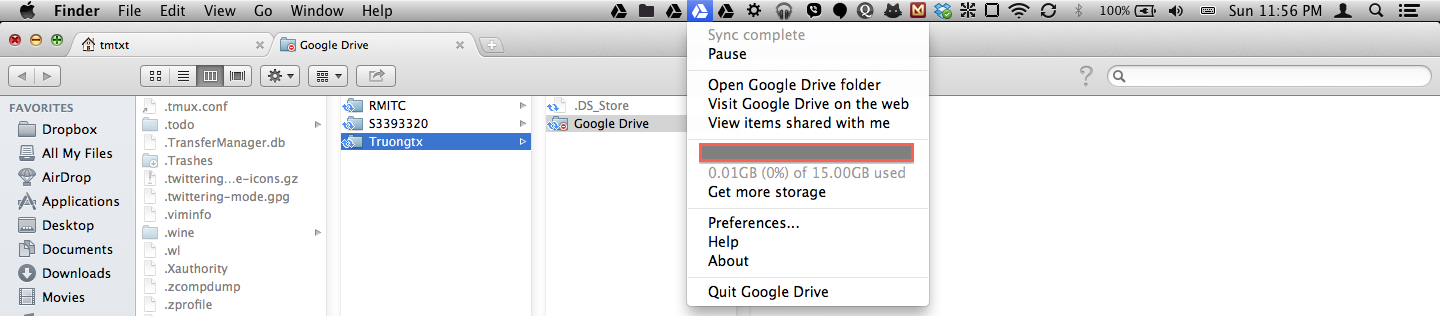
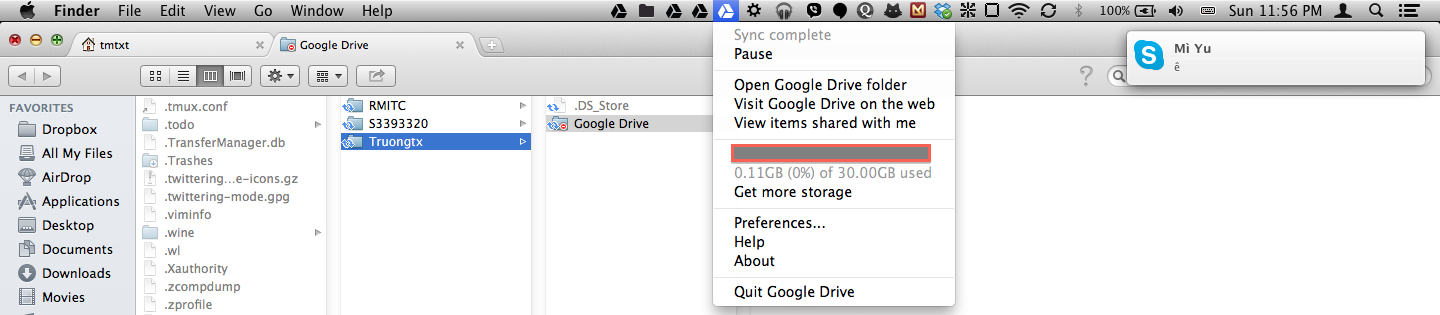
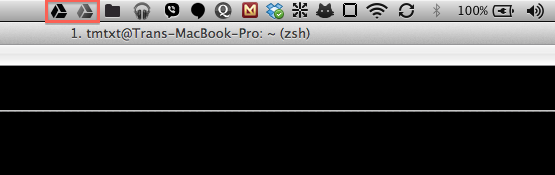
Bonus Images from my Mac