The default Jekyll Bootstrap index file contains a simple post list. However, it is really boring. It just gives you very basic information like Pulished date, Post title and the link to that post. After a little researching about the supported liquid tags in Jekyll, I came up with a new index page with the more beautiful post list, including thumbnail, post title, summary of the post, read more buttons and much more things you can add to.
Here are the implementation steps. Remember this is for Jekyll Bootstrap. That means you need Jekyll with Bootstrap to implement. If you don’t use bootstrap you can still apply those steps with a few tweaks.
Add Thumbnail property for post
By default Jekyll does not add any thumbnail image property for post so we need to add one more property for the post. In the beginning of every post file is the declaration section. Just add one more property called thumbnail for it.
layout: post
title: "Thumbnail Post List for Jekyll Bootstrap"
description: ""
category:
thumbnail: /files/2013-01-05-thumbnail-post-list-for-jekyll-bootstrap/thumbnail.png
tags: [tutorial, thumbnail, post, jekyll, bootstrap]
If you’re using Jekyll Bootstrap, to avoid having to manually add the thumbnail property everytime you create the post, add it the the rake task. Edit the Rakefile in the root directory of your jekyll site. Find these lines and add the thumbnail property
puts "Creating new post: #{filename}"
open(filename, 'w') do |post|
  post.puts "---"
  post.puts "layout: post"
  post.puts "title: \"#{title.gsub(/-/,' ')}\""
  post.puts 'description: ""'
  post.puts "category: "
  post.puts "thumbnail: "
  post.puts "tags: []"
  post.puts "---"
  post.puts ""
Now everytime you execute the command rake post to create a new post, it will also create the thumbnail property for you.
Prepare the image
You will need one default image for jekyll to use in case the post does not have the thumbnail property. Just pick the one you like and put it somewhere in your web directory. For example, I put the image named nothumbnail.jpg in the images folder in the root directory of my site.
Design the page
Now the most important thing, design the page where you would like those thumbnail post list will appear. Open the page where you want the list to be appear. In my case I put them into my index file.
I used the Bootstrap layout here so remember to include the Bootstrap css file before.
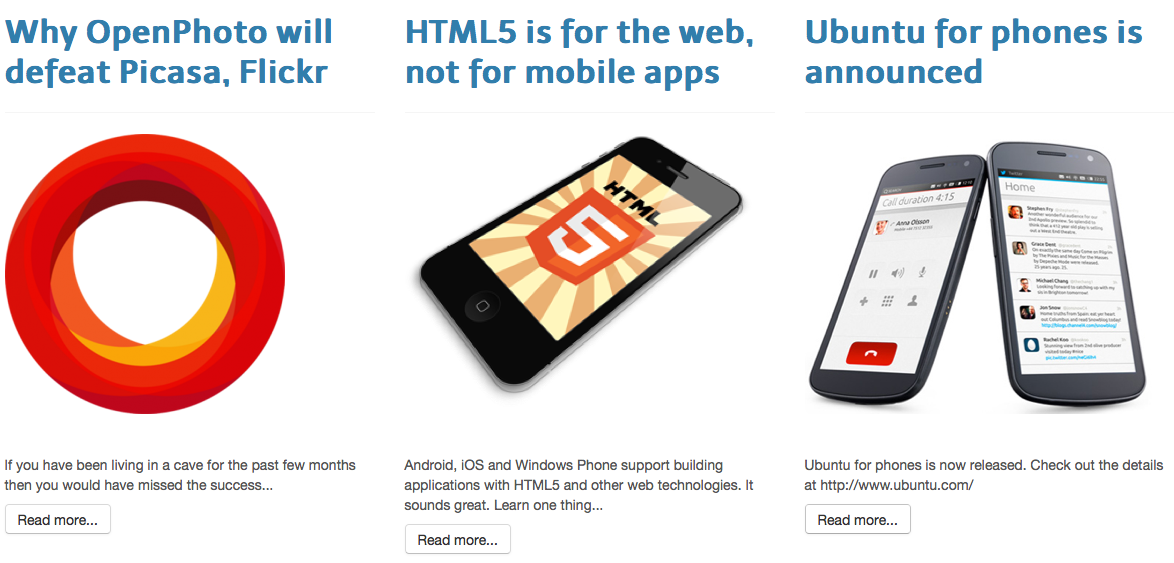
First 3 latest posts
First select 3 latest posts to display in the 3 column using the Bootstrap layout. Add these code to where you want them to appear.
<div class="row">
{% for post in site.posts limit:3 %}
<div class="span4">
<a href="{{ BASE_PATH }}{{ post.url }}"><h2>{{ post.title }}</h2></a>
<hr />
<p>{% if post.thumbnail %}
<img src="{{ post.thumbnail }}" style="height: 280px" align="center" />
{% else %}
<img src="/images/nothumbnail.jpg"
style="height: 280px" align="center" />
{% endif %}</p>
<p> </p>
<p>
{{ post.content | strip_html | truncatewords:20 }}
</p>
<p>
<a class="btn" href="{{ BASE_PATH }}{{ post.url }}">Read more...</a>
</p>
</div>
{% endfor %}
</div>
In the code above, replace /images/nothumbnail.jpg with the link to your no thumbnail image. The {{ post.content | strip_html | truncatewords:20 }} is the preview of post, which is html stripped and truncated to 20 words.
Here is the demo image
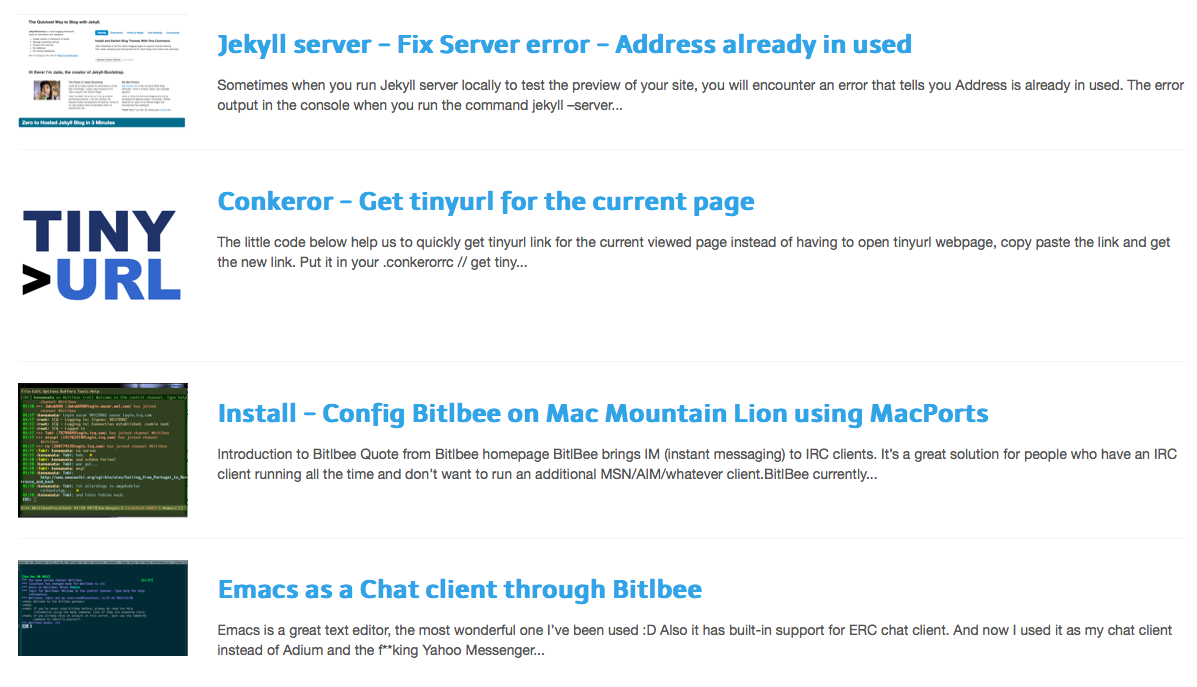
The rest
Now, I will select next 15 latest posts to display. Of course we do not choose all the post to display. If the audience want to view all posts, give them the archive page link =) To display the next 15 posts, we need 2 arguments on the liquid for loop: limit:15 and offset:3
Add this code to where you want it to display
{% for post in site.posts limit:15 offset:3 %}
<hr />
<div class="row">
  <div class="span2">
    {% if post.thumbnail %}
	<img src="{{ post.thumbnail }}" align="center" />
	{% else %}
	<img src="/assets/themes/tmtxt-responsive/images/no-thumnail.jpg" align="center" />
	{% endif %}
  </div>
  <div class="span10">
    <p><a href="{{ BASE_PATH }}{{ post.url }}"><h3>{{ post.title }}</h3></a></p>
	<p>{{ post.content | strip_html | truncatewords: 40 }}
	</p>
  </div>
</div>
{% endfor %}
Here is the demo image
Update
In these above steps, the preview of the post is always truncated at 20 (or some constant number of) words automatically. To manually truncate it in wordpress style, follow this post Jekyll - Read More without plugin